In this project I am using three separate sensor chips that are built into the AltiMU-10 sensor board: Gyro, Accelerometer and Magnetometer. By careful review of the the documentation on the Pololu web page for the MiniMu-9 V5
MiniMu9
The MiniMu9 circuit board contains three devices, a gyro, a magnetometer and a compass. Each of the three devices has three sub sensors, X, Y and Z each representing a different dimension / orientation.We communicate with the MiniMu9 using the Raspberry Pi's i2c serial bus. The i2c bus is a serial bus that allows a computer to communicate with a variety of devices connected to the bus. Broadly, this is how it works:
- Each device has an address on the bus
- Each device has a set of registers which can either be readable, writable or both
- Some of the registers are control registers, where you can read or write settings
- Some of the registers are data registers, where you can read or write data
Physical Connectivity

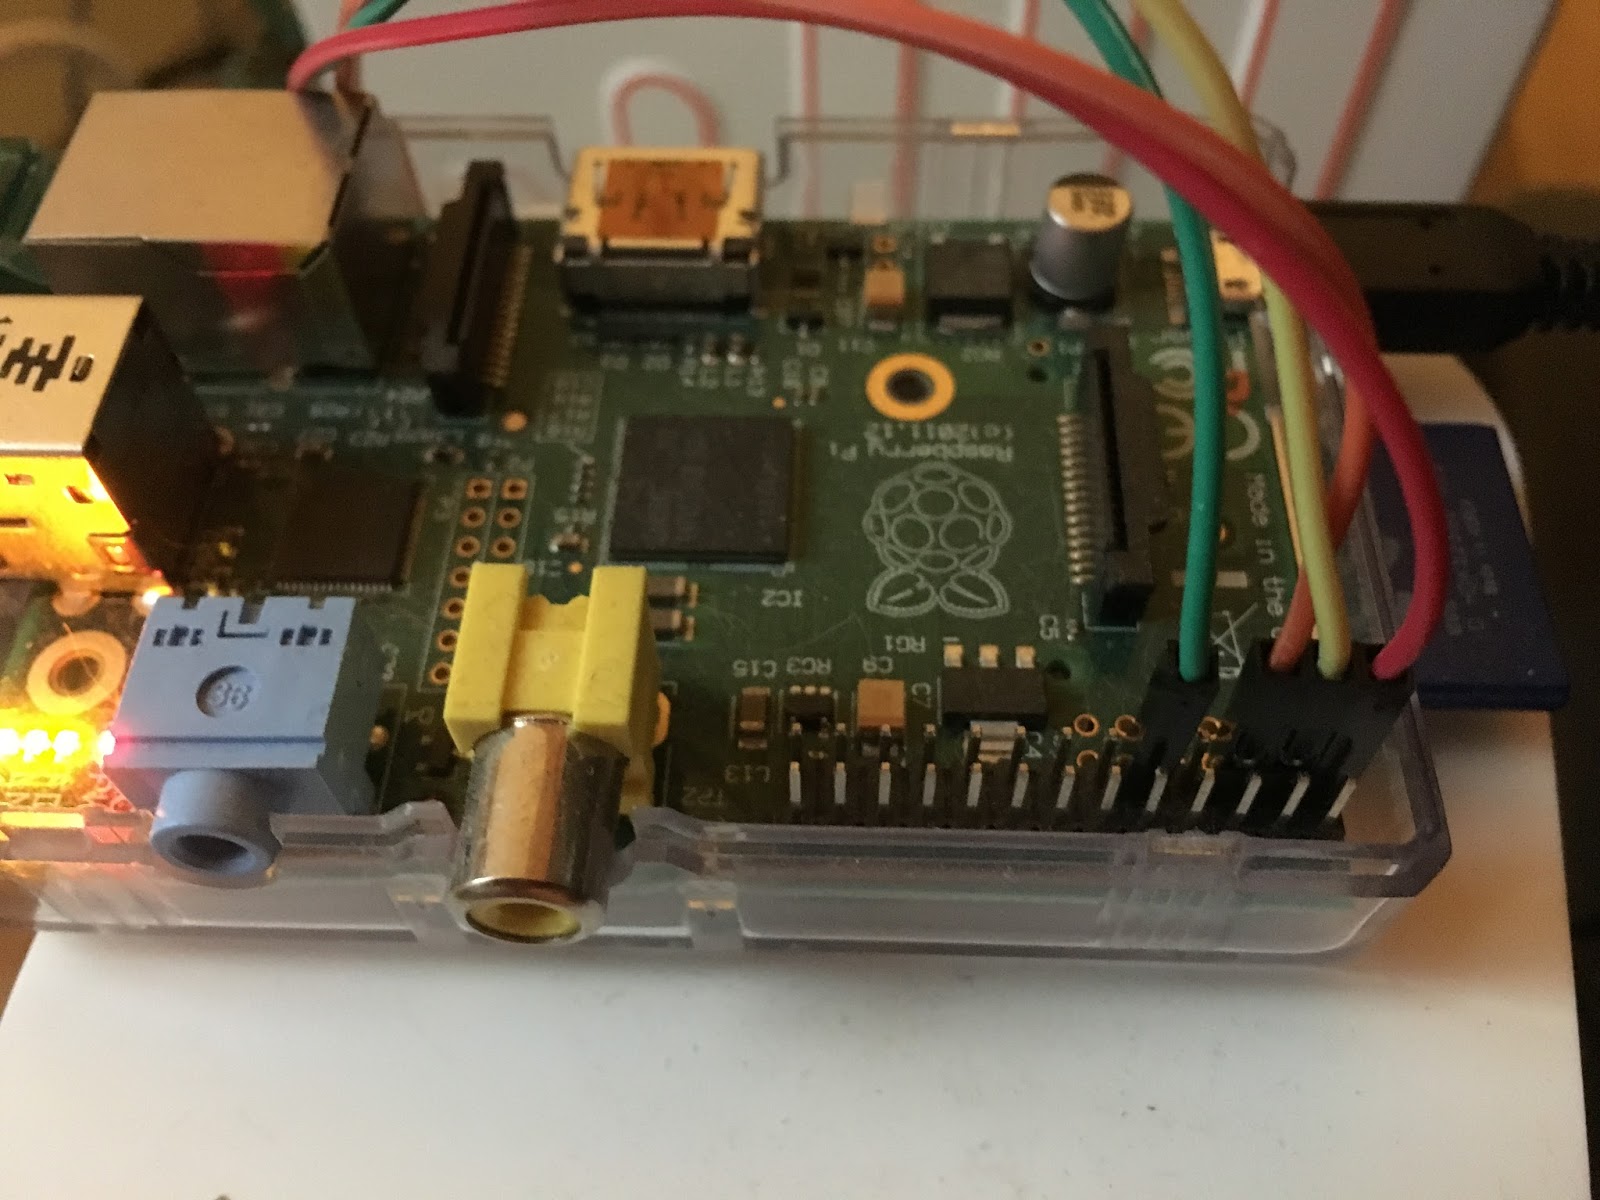
The i2c bus is accessed through the Raspberry Pi's serial input/output port. 4 wire connections are needed as follows:
Raspberry Pi Port Altimu-10 Port Purpose My Cable Color
1 3V VDD 3V Power Red
3 GPIO-0 SDA SDA Yellow
5 GPIO-1 SCL SCL Orange
9 Ground GND GND Black

The picture above shows the orientation of the pin-out on the Raspberry Pi (note, this is picture of the Raspberry Pi V2 - I will retake the pic with a V3).

Raspberry Pi i2c Bus
i2c bus is a software convention for multiple devices to communicate with a computer over the same serial bus. The Raspberry Pi's General Purpose Input Output (GPIO) connector (bottom right in the picture above) communicates with the Pi's processor using i2c.The i2c bus documentation is available online, though is generally not needed here as the developer is abstracted from the complexities the electronic circuits by using a software library. More to follow on the software later.
First, check that the i2c capability is enabled by accessing the Raspberry Pi's configuration menu:
sudo raspi-config
From the menu select Advanced Options, then select I2C. On the next screen you are asked if you wish to enable the ARM I2C interface - select YES.
Reboot the Raspberry Pi to make the I2C interface active.
Next install the package that allows Python to communicates with the bus:
Next I install i2c tools, a package that allows you to see if devices are active on the i2c bus using the i2cdetect application. From the Linux command line:
sudo apt-get install i2c-tools libi2c-dev
After saving and exiting from Nano, the Raspberry Pi must be rebooted from the command line with:
sudo reboot
Testing The i2c Bus
After rebooting I can use i2c tools to identify if the connections are working correctly. From the Linux command line I run:sudo i2cdetect -y 1
The resulting grid is displayed:

I see the device addresses 6bH and 1eH are visible on the ic2 bus, and that no others are visible. I check that against the port addresses used by the Gyro, Accelerometer and Magnetometer from my device documentation. This looks good as the Gyro and Accelerometer both use 6b and the compass uses 1e.
Port Addresses
Gyro - LSM6DS33
Address 0x6bControl Register 2_G 0x11
Message 0x40 01000000b 104Hz, 245dps, Gyro full scale at 125dps
Control Register 7_G 0x16
Message 0x38 00111000b - X, Y, Z Gyro on
X Data Low 0x22
X Data High 0x23
Y Data Low 0x24
Y Data High 0x25
Z Data Low 0x26
Z Data High 0x27
Accelerometer - LSM6DS33
Address 0x6b 1101011bControl Register 1XL 0x10
Message 0x40 01000000b - 104Hz, +/- 2g, 400Hz BW
Control Register 9XL 0x18
Message 0x38 00111000b - X, Y, Z Accel on
X Data Low 0x28
X Data High 0x29
Y Data Low 0x2a
Y Data High 0x2b
Z Data Low 0x2c
Z Data High 0x2d
Magnetometer - LIS3MDL
Address 0x1eControl Register 1 0x20
Message 0x10
Control Register 4 0x23
Message 0x00
X Data Low 0x28
X Data High 0x29
Y Data Low 0x2a
Y Data High 0x2b
Z Data Low 0x2c
Z Data High 0x2d
Temp Low 0x2e
Temp High 0x2f
No comments:
Post a Comment